
Sparkle Lightning Effect
Sparkle Lightning Effect
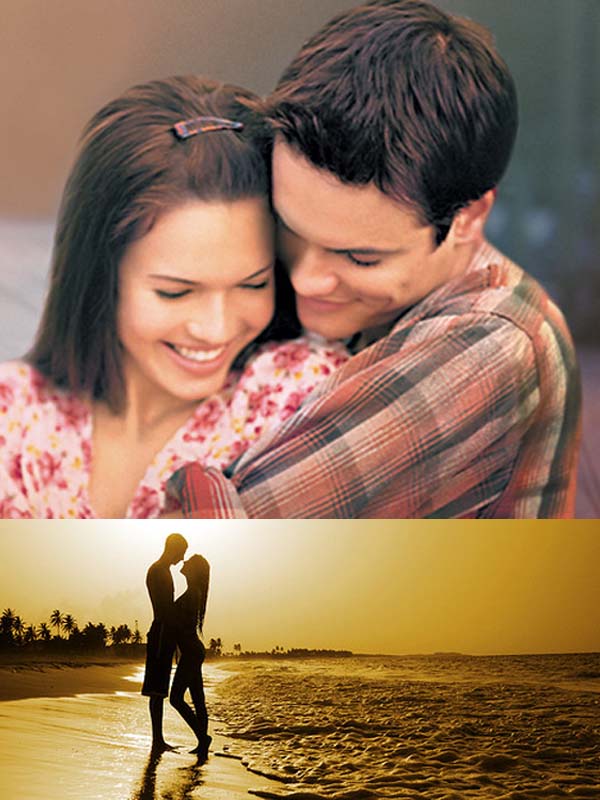
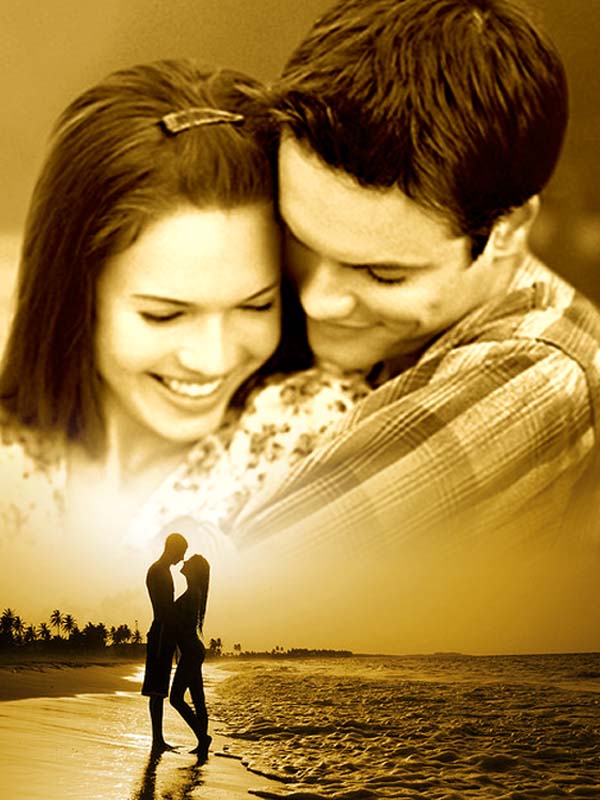
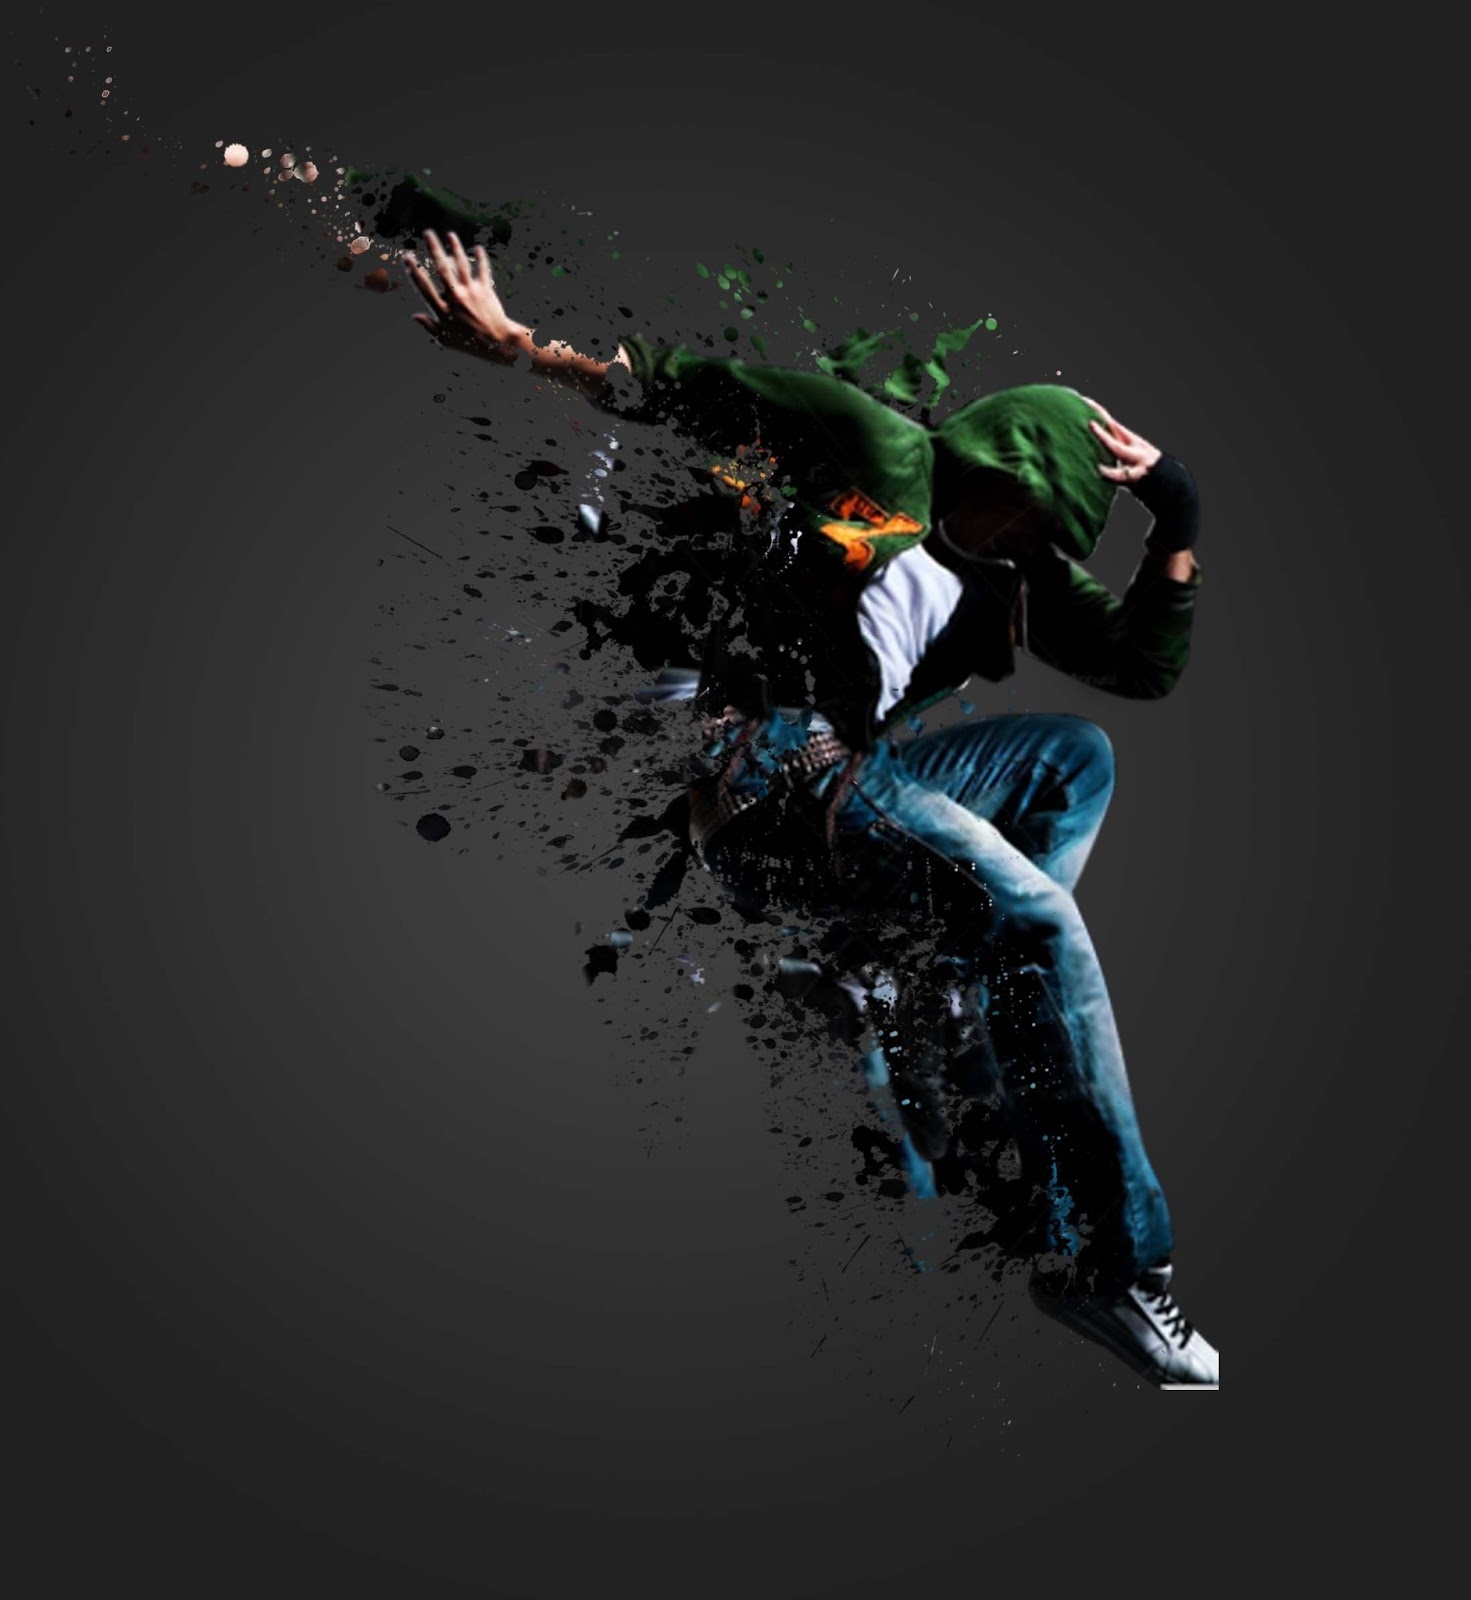
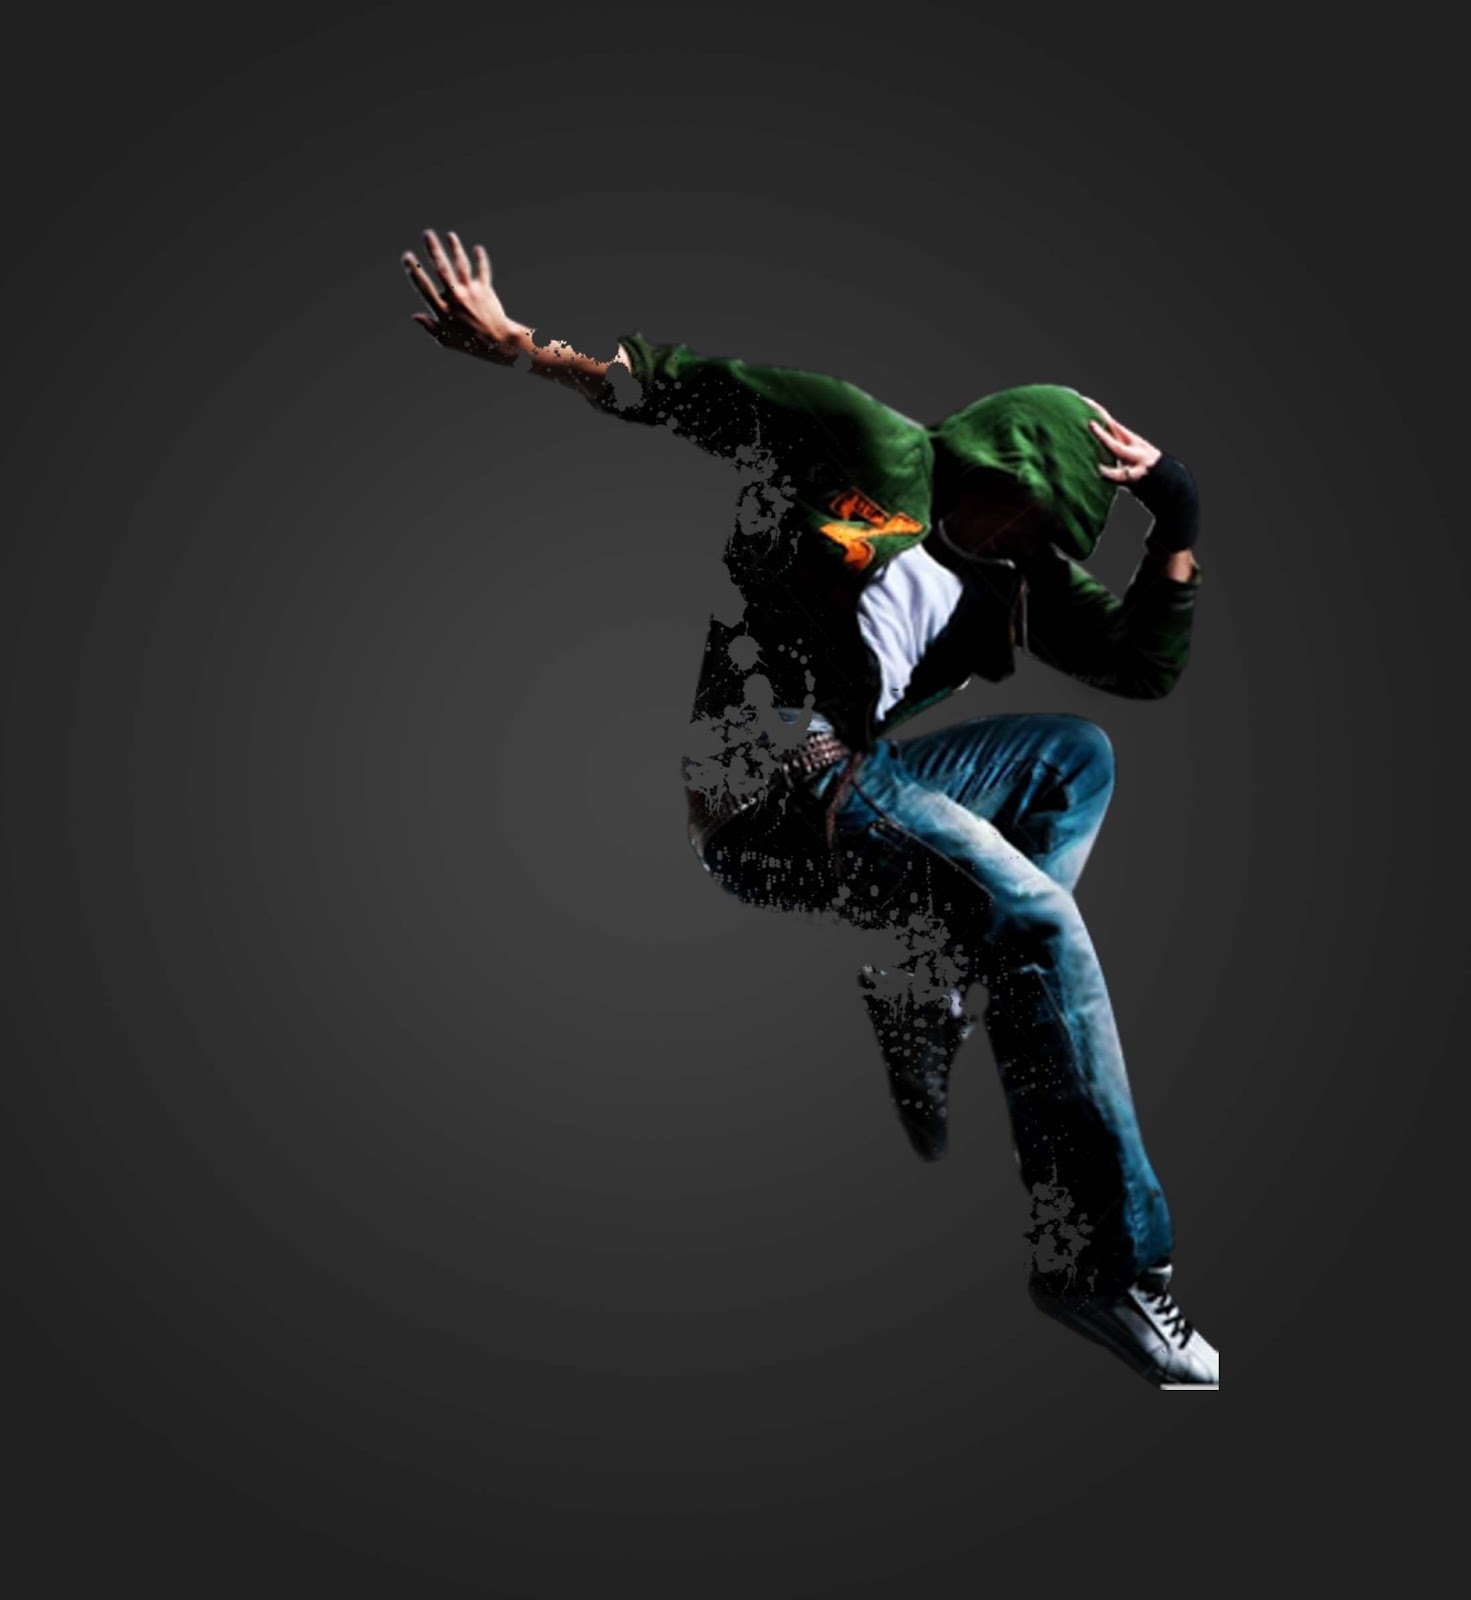
Final view

Step 1:
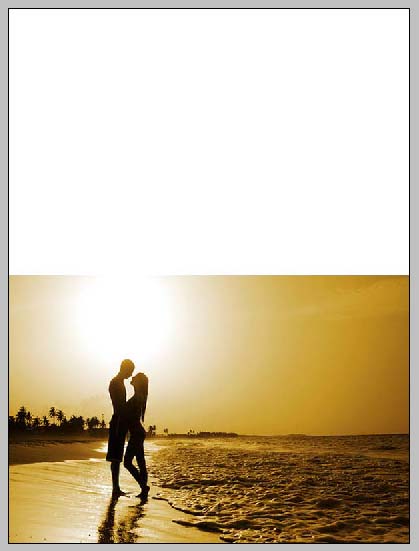
Create new file background with Gradient tool (Gray shades).
Create new file background with Gradient tool (Gray shades).

Step 2:
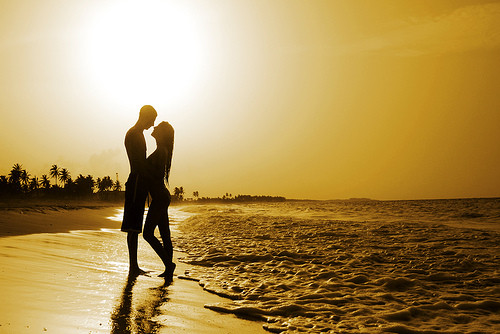
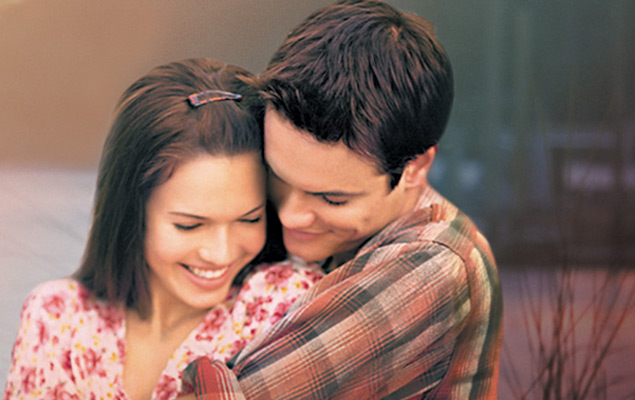
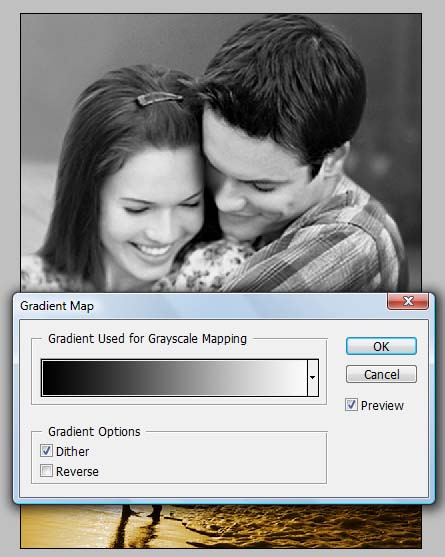
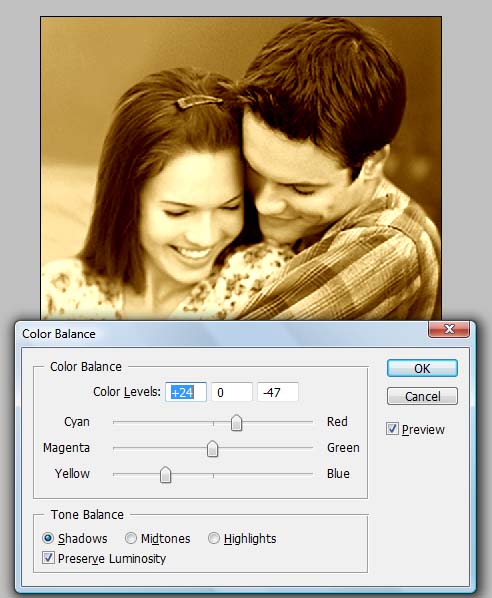
Take the image which is to be used. make stature (Image ---> adjustment ---> Sature )


Double click on layer and name the layer as "Object".
Step 3:
Now make a new layer below the object layer.
Here we use the splatter brushes.(download spatter brushes set).
Select the white/black color and make clicks on the layer .Now Go to Filter ---> Blur ---> Gaussian Blur and set radius to 2% - 3%.

Here we use the splatter brushes.(download spatter brushes set).
Select the white/black color and make clicks on the layer .Now Go to Filter ---> Blur ---> Gaussian Blur and set radius to 2% - 3%.
Now Make new layer (Ctrl+Shft+N) .
and select black color and spatter brush, Make some clicks on Image.

Step 4:
Again Make new layer (Ctrl+Shft+N).
and select whitecolor and spatter brush, Make some clicks on Image.
Again Make new layer (Ctrl+Shft+N).
and select whitecolor and spatter brush, Make some clicks on Image.

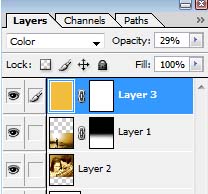
Now Go to Blending Options ---> Outer Glow and make following changes.


Step 5:
Now Make a new layer again (Ctrl+Shft+N). select splater brush and white color and click on layer. and give outer glow from blending options (Red color).


We discus all these layers below the "object" layer.
Now make the new layer above the Object layer and repeat same procedure.
Step 6:
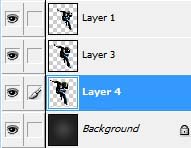
Make a new layer and select Pen tool. and make the path around the object, right click on path and select Stroke Path ---> Brush.
While selecting Brush option make sure that your brush color is set to white and radius to 3 to 4.
Click OK.
select eraser tool and remove the some area of pathso that it looks like rounded to the object.

While selecting Brush option make sure that your brush color is set to white and radius to 3 to 4.
Click OK.
select eraser tool and remove the some area of pathso that it looks like rounded to the object.
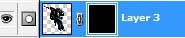
Make a duplicate layer of path(Ctrl+j) and hide duplicate layer.
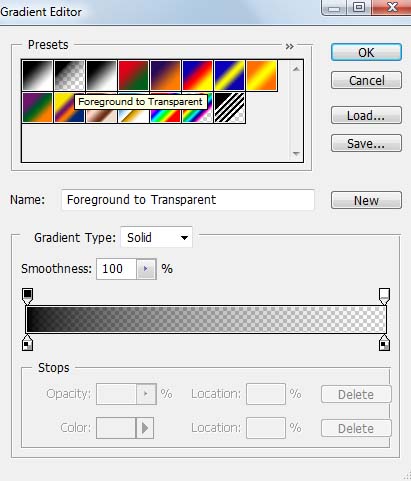
Select original path layer and go to Blending Options ---> Gradient Overlay ---> Select rainbow ---> OK.
Now go to Filter ---> Blur ---> Gaussian blur and make the radius to 4%.
Now visible the hidden path layer and go to Blending Options ---> Outer Glow.
Set mode to Color Dodge and increse the size ---> OK


Step 6:
Make new layer and drop some stars and Give the outer glow to them..

Done..!!


2 comments: